

Art + Literature Lesson: Seeing Sunlight — Collaging Emotion in “All Summer in a Day”
Grade Level: Middle to High School
Length: 1–2 class periods (can extend to 3 for refinement and reflection)
Core Connection: Visual Arts + ELA Integration
Literary Text: “All Summer in a Day” by Ray Bradbury
Art Focus: Collage Portraiture – Layering emotion and contrast
Featured Artist: Wangechi Mutu (Kenyan-American contemporary artist known for surreal collaged faces and figures)
Objectives
Students will:
Analyze emotional contrasts and imagery in “All Summer in a Day.”
Explore how collage can express layered identity and emotion.
Create a mixed-media portrait representing Margot, her classmates, or the sun using collage.
Reflect on how texture, color, and fragmentation can communicate feeling.
Materials
Magazines, newspapers, printed photos, and scraps of color/pattern
Glue sticks or Mod Podge
Scissors or X-Acto knives (teacher-guided)
Drawing paper or watercolor paper (9x12 or 11x14)
Optional: paint, watercolor, tissue paper, transparent vellum, or tracing paper
Examples of Wangechi Mutu’s works such as “The End of eating Everything” or “Histology of the Different Classes of Uterine Tumors”
1. Warm-Up Discussion
Revisit “All Summer in a Day.”
Ask:How does Bradbury use contrast (light/dark, joy/sadness, inclusion/isolation)?
What emotions do you feel at the story’s climax — when Margot is locked away?
On the board, create a T-chart of “Rain World” vs. “Sun World.”
(Students list textures, colors, feelings, and sensory words for each.)
2. Artist Connection
Introduce Wangechi Mutu.
Show several of her collages that merge faces with plants, animals, and abstract textures.
Discuss:How does she use fragmentation and texture to express identity and emotion?
Why might collage be a powerful way to show complex or hidden feelings?
3. Concept Sketch
Students brainstorm how to visualize a character or mood from “All Summer in a Day.”
Options:
Margot’s Portrait: Half in shadow/rain, half in sunlight.
Class Group Collage: Combine multiple faces into one to show collective guilt or conformity.
The Sun Personified: A surreal figure made of light, warmth, and longing.
The Locked Door Scene: A symbolic collage — use torn paper to show separation.
Encourage them to sketch loosely, thinking about contrast and composition rather than realism.
4. Collage Creation
Students select a base (drawing paper) and begin collaging.
Encourage layering: opaque and transparent materials, overlapping textures, combining magazine images with drawn or painted details.
Prompt: “How can you show both hope and isolation in one image?”
As they work, circulate and ask:
“Where does the sunlight appear in your collage?”
“What textures feel like rain? Like warmth?”
“How can you fragment or blend parts of the face to reflect emotion?”
5. Reflection
Students title their piece and write a short artist statement:
“My collage expresses the moment in ‘All Summer in a Day’ when _______. I used color/texture/contrast to show _______.”

Faces Week 1
Activity 1 – Introduction: The Face as Story
Objective: Understand how faces communicate and begin observing proportion.
Warm-up (10 min):
“Emotion Match”: Show photos of different facial expressions (Grok Cards?).
Students jot down the emotion they see and one reason (eyebrows raised, eyes narrowed, etc.).
Discuss: “What clues helped you decide?”
Mini Lesson (15–20 min):
Introduce the idea that the face has a universal structure (e.g., eyes halfway down, bottom of nose halfway between eyes and chin, etc.). See Loomis Method Video Below.
Briefly show Leonardo da Vinci’s Study of Human Proportions and Alice Neel’s portraits (e.g., Nancy and Olivia).
Discuss: “How are these artists showing structure vs. personality?”
Studio Practice (20–25 min):
Students practice sketching a generic human face with proportion lines.
Encourage several quick tries instead of one perfect drawing.
Closure (5–10 min):
Share one “aha moment.”
Journal prompt: “When do I show my true face—and when do I hide it?”
Activity 2 – Observation and Variation
Objective: Practice noticing unique features while maintaining proportion.
Warm-up (10 min):
“Guess Who?” slide show: 3 faces (celebrity, student photo, painting).
Discuss: “What makes each face recognizable?”
Mini Lesson (10–15 min):
Review proportion briefly.
Introduce variation—no two faces are the same.
Show examples:
Alice Neel portraits — raw, emotional honesty.
Amy Sherald portraits — simplified shapes and tones that emphasize individuality.
Discuss: “Which feels more ‘real’ to you and why?”
Studio Practice (30–35 min):
Using mirrors or printed photos, students sketch their own face using basic proportion lines.
Encourage observation of differences from the “ideal” template (eye distance, face shape, lip size, etc.).
Remind them: no erasing! This is an observation drawing, not a perfection drawing.
Closure (5–10 min):
Write a 3-sentence reflection: “What did I notice about my own face that makes it unique?”
Activity 3 – Emotion and Honesty
Objective: Use line and expression to convey emotion.
Warm-up (5–10 min):
Mirror exercise: Make three different expressions (happy, neutral, nervous).
Discuss: “Which expression felt most natural? Least?”
Mini Lesson (15–20 min):
Talk about how line quality (smooth, jagged, soft, dark) can show emotion.
Show close-up examples:
Käthe Kollwitz — expressive linework and empathy.
Alice Neel — emotional honesty, even discomfort.
Discuss: “How do these artists’ choices communicate emotion or truth?”
Studio Practice (30–35 min):
Students choose one emotion (real or imagined) and draw a self-portrait in contour lines only.
Use continuous line or expressive line drawing (no shading).
Encourage exaggeration of features that communicate the chosen emotion.
Closure (10 min):
Pair share: each partner guesses the other’s emotion.
Whole class: “What’s easier—looking like everyone else or showing what you feel?”

8-Week Art Study: Faces of Emotion — The Art of Expression and Individuality
Overview
Students will explore how artists throughout history—and today—capture human emotion and identity through facial expression. They’ll learn facial structure, proportion, and expressive details while connecting their artmaking to literary themes of peer pressure, conformity, and authenticity to accompany their CommonLit ELA unit Following the Crowd.
By the end, each student will complete a final expressive portrait (self, peer, or imagined figure) that communicates an emotional or social theme connected to the ELA unit.
Week-by-Week Plan
Week 1: The Human Face as Story
Theme: What do faces reveal—and what do we hide?
Art Focus: Basic facial proportions and placement (eyes, nose, mouth, ears)
Artists:
Leonardo da Vinci (study of human proportions)
Alice Neel – honest, emotional portraiture that captures personality over perfection
Activities:
Sketch basic head shapes using the Loomis method or simple oval guides.
Quick sketches of classmates’ neutral expressions.
ELA connection: Journal — “When do I hide my true feelings in a crowd?”
Week 2: Observing Emotion
Theme: Reading emotion — subtle vs. exaggerated expressions
Art Focus: Anatomy of facial muscles and emotional cues (eyebrows, mouth, eyes)
Artists:
Käthe Kollwitz – expressive emotion in portraiture and printmaking
Norman Rockwell – exaggerated but authentic expressions
Activities:
Draw from mirrors showing 5 basic emotions (happy, sad, angry, surprised, scared).
Expression thumbnail sketches (10 quick faces).
ELA connection: Compare to a literary character who “goes along” versus one who resists.
Week 3: Identity and Authenticity
Theme: What makes a face yours?
Art Focus: Proportion variation, individuality, and avoiding “generic faces”
Artists:
Frida Kahlo – self-portraiture and emotional honesty
Amy Sherald – modern portrait artist who redefines representation and individuality
Activities:
Self-portrait from mirror — line only, no shading.
Write reflection: “What expression best represents my true self?”
Week 4: Group Dynamics
Theme: Faces in the crowd — sameness and difference
Art Focus: Composition with multiple faces and variation in emotion
Artists:
Yayoi Kusama – repetition and pattern
Njideka Akunyili Crosby – layers of identity and community
Activities:
Sketch a crowd scene or repeated faces with subtle expression changes.
Discuss: “When does repetition feel safe? When does it feel oppressive?”
Week 5: Light, Shadow, and Depth
Theme: What’s visible, what’s hidden
Art Focus: Shading techniques to model the face (light source, value)
Artists:
Carrie Mae Weems – use of light and shadow in storytelling photography
Rembrandt van Rijn – chiaroscuro for emotional depth
Activities:
Practice shading on spheres, then apply to a portrait sketch.
Photograph your own face with strong directional light for reference.
Week 6: Modern Media and Mood
Theme: Curated expressions — are our “faces” real online?
Art Focus: Expression through digital or mixed media
Artists:
Cindy Sherman – constructed identities and performance in portraits
Liu Bolin – blending into surroundings, “The Invisible Man”
Activities:
Create a “filtered self-portrait” — real vs. social media face.
Discuss ELA connections: conformity in digital culture.
Week 7: Final Project — Draft and Refinement
Theme: Expressing truth through art
Art Focus: Composition planning, refinement, emotional clarity
Activities:
Draft expressive portrait (self or imagined figure showing emotion tied to “following the crowd”).
Peer critique focused on emotion readability.
Artist statement draft: “The story behind my expression.”
Week 8: Exhibition — Faces of the Crowd
Theme: Standing out and speaking up
Art Focus: Presentation and reflection
Activities:
Finalize expressive portrait (traditional, mixed media, or digital).
Write short reflection connecting portrait to ELA theme: “What does my face say about conformity and individuality?”
Host mini-gallery walk titled Faces of the Crowd.
Skills Progression
By the end of 8 weeks, students will be able to:
Draw accurate facial proportions
Capture distinct emotional expressions
Use light, value, and detail to add realism and depth
Create portraits that communicate emotion and meaning
Connect visual expression to literary themes of identity and conformity
Optional Materials & Tools
Graphite pencils (HB–6B)
Charcoal and blending tools
Mirrors or tablets for self-reference
Digital drawing apps (if available)
Sketchbook for daily practice and journaling

Botanical Art Unit Overview
This semester, our students explored the natural world through every lens—scientific, literary, and artistic. As their environmental science and ELA units focused on ecology, sustainability, and our relationship with nature, our art studio became a living extension of that conversation. In our eight-week Botanical Art unit, students learned to see plants not just as background scenery but as complex, living subjects. Through the careful observation and techniques of both past and contemporary botanical artists—many of them pioneering women—students discovered how art can deepen scientific understanding and give voice to the quiet beauty of the environment we study.

Skill-Building Foundations
Observation & Line Work
– Blind contour drawings of leaves, flowers, and seed pods
– Continuous line drawings to loosen up
– Negative space exercises (drawing the space around a plant instead of the plant itself)Detail & Accuracy
– Graphite shading studies of textures (bark, petals, stems, thorns)
– Botanical dissection drawings (draw a flower whole, then dissect and draw each part)Color Work
– Watercolor washes for leaves in different stages (spring green → autumn brown)
– Mixing a full gradient of greens using only blue + yellow + red (no premixed greens)
– Study of translucency in petals with layered watercolorComposition & Design
– Herbarium-inspired pressed plant + drawing pairings
– Symmetry vs. asymmetry in floral compositions
– Create a scientific plate (with notes/labels) vs. a purely aesthetic art piece
Project Ideas
Leaf Library – Each student selects one species of leaf to study in depth: line drawings, texture shading, watercolor rendering, and a final polished piece.
Seasonal Changes – Document a single plant through the seasons (collected photos/sketches → final series).
Microscopic World – Use magnifying glasses or digital microscope images to create “zoomed in” studies of plant structures.
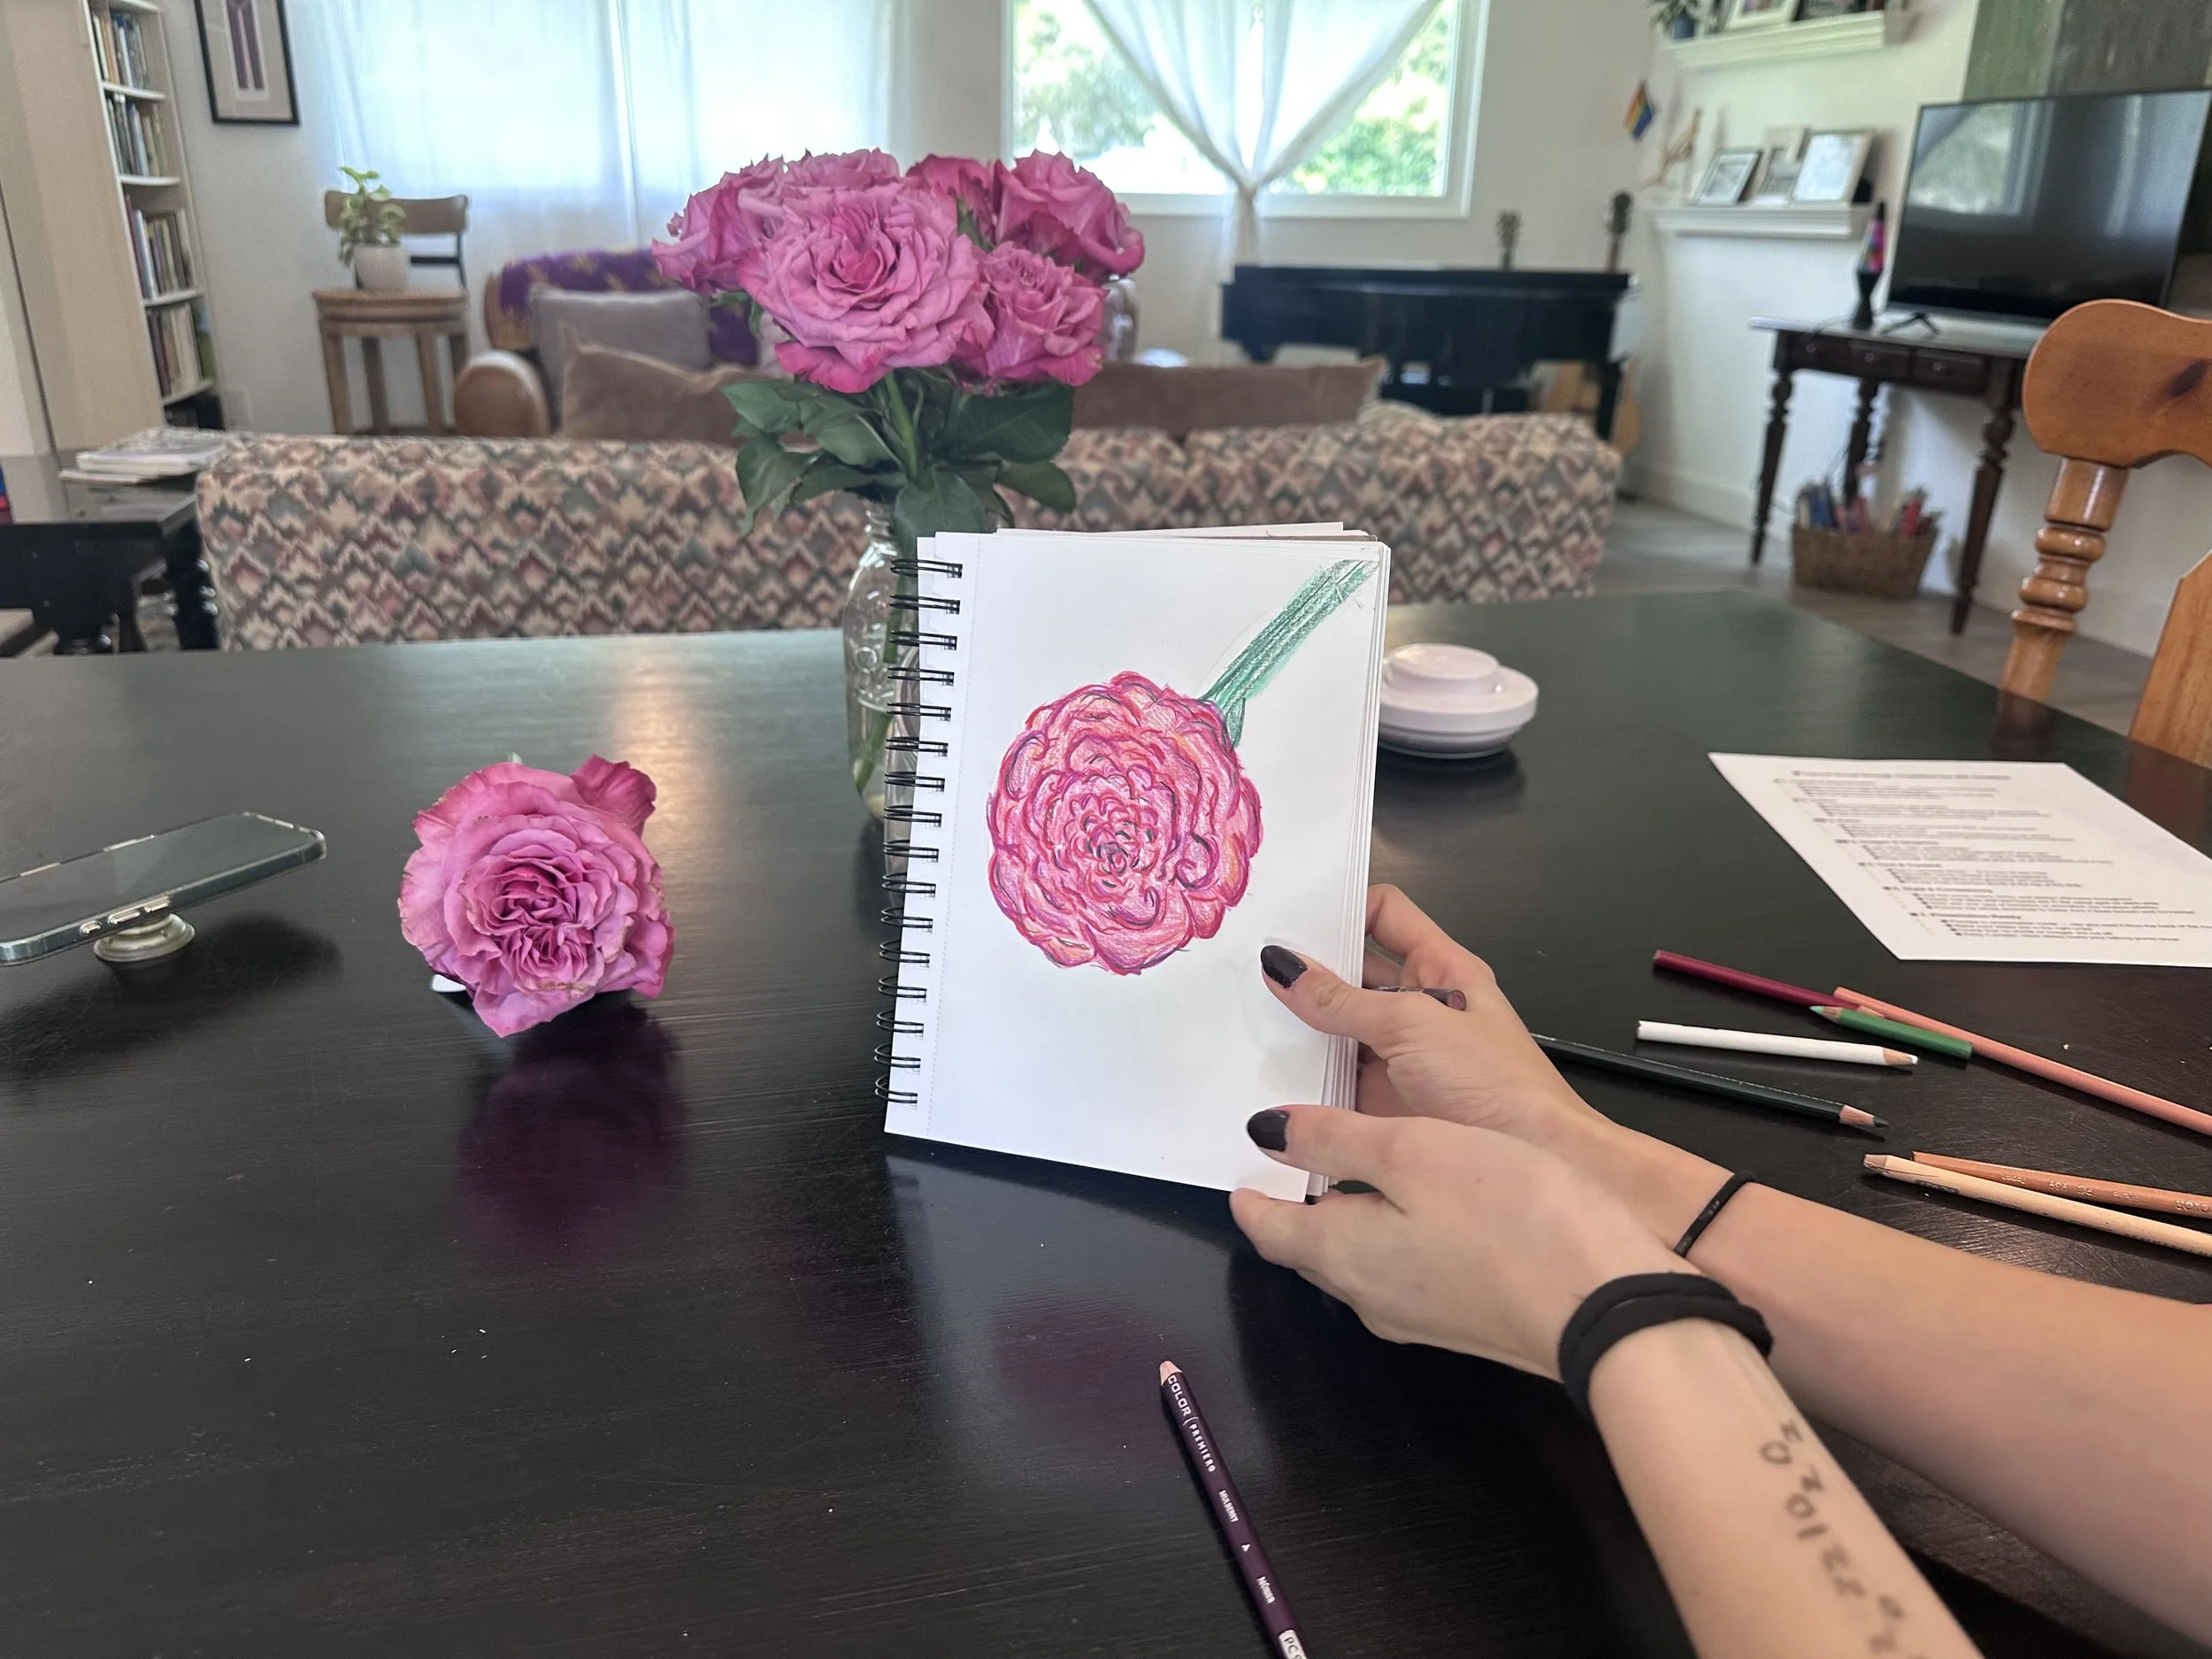
Botanical Portraits – Create a composition where a flower or plant is the “subject” like a human portrait, emphasizing personality/character.
Mixed Media Herbarium – Combine pressed plants, scientific notes, and painted illustrations into a final journal or portfolio.
Historical Recreation – Recreate a page in the style of a chosen botanical illustrator (students pick an artist to emulate).
Contemporary Botanical Art – Encourage students to design a modern botanical piece that blends realism with abstraction, graphic design, or collage.
Artists to Study
Historical Botanical Artists
Maria Sibylla Merian (1647–1717) – Pioneering illustrator of plants and insects, traveled to Suriname to document tropical species.
Elizabeth Blackwell (1707–1758) – Created A Curious Herbal to fund her husband’s debts; one of the first major women-authored botanical works.
Anne Pratt (1806–1893) – Made botanical illustration more accessible to the public in Victorian England.
Marianne North (1830–1890) – Traveled the world painting exotic plants in their natural habitats (unique in her time).
Modern & Contemporary Botanical Artists
Margaret Mee (1909–1988) – Known for Amazonian plant paintings, conservation-focused.
Katie Scott (b. 1988) – Illustrator of Botanicum; blends scientific accuracy with a whimsical style.
Lilian Snelling (1879–1972) – Illustrated thousands of plant species for Royal Botanic Gardens, Kew.
Rosie Sanders (b. 1944) – Contemporary watercolorist known for large-scale, almost hyperrealistic floral paintings.
Other Influential Artists
Pierre-Joseph Redouté (1759–1840) – “Raphael of flowers,” court painter to Marie Antoinette and Josephine Bonaparte.
Ernst Haeckel (1834–1919) – While more zoological, his Art Forms in Nature influenced botanical art’s stylization.
Course Outline
Week 1: Introduction to Botanical Art
Skills: Observation drawing, contour lines, sketchbook setup
Exercises: Blind contour of leaves and flowers; continuous line sketches
Artist Focus: Maria Sibylla Merian – plants + insects, science + art connection
Mini Project: Create a “specimen page” of a simple plant (sketch + notes + first attempt at detail)
Week 2: Structure & Form
Skills: Breaking plants into shapes, negative space, proportion
Exercises: Draw a plant whole, then dissect into parts (flower, leaf, stem)
Artist Focus: Elizabeth Blackwell – early female herbal illustrator
Project: Scientific-style plate of a flower (linework, labeled parts)
Week 3: Shading & Texture
Skills: Value scales, graphite shading for texture (smooth petals vs rough bark)
Exercises: Texture swatches (leaf veins, bark, seeds, moss)
Artist Focus: Anne Pratt – Victorian illustrations with clarity and accuracy
Project: “Leaf Library” page – three leaves rendered in graphite, with notes
Week 4: Color in Botanical Art
Skills: Watercolor washes, layering, mixing natural greens and petal colors
Exercises: Practice mixing 10 shades of green; paint translucent petals
Artist Focus: Pierre-Joseph Redouté – master of watercolor florals
Project: Finalize one botanical study in watercolor (single leaf/flower)
Week 5: Composition & Creativity
Skills: Designing with plants, balance, symmetry vs asymmetry
Exercises: Sketch 3 thumbnail layouts for a floral arrangement or plant portrait
Artist Focus: Marianne North – traveled and painted plants in their habitats
Project: Botanical “portrait” of a chosen plant, with composition focus
Week 6: Modern Botanical Voices
Skills: Combining accuracy with personal style; experimenting with scale
Exercises: Large-scale flower study (zoom in on one bloom or petal section)
Artist Focus: Rosie Sanders (hyperrealistic florals) + Katie Scott (Botanicum, stylized illustration)
Project: Contemporary botanical piece – large scale, bold or stylized
Week 7: Mixed Media & Herbarium Work
Skills: Integrating text, pressed plants, notes, and illustration
Exercises: Press leaves/flowers and design a journal page with them
Artist Focus: Margaret Mee – art + conservation in the Amazon
Project: Mixed media herbarium spread (pressed plant + drawing + notes)